
Overview
Quick setups for a hole-in-one on Desert 1 — Showdown and Coast 8 — Gauntlet: full-power shots with small aim adjustments. Patches can change feel — confirm in your client.
Desert 1: Showdown

Shot setup (Showdown)
Step 1 — Initial aim
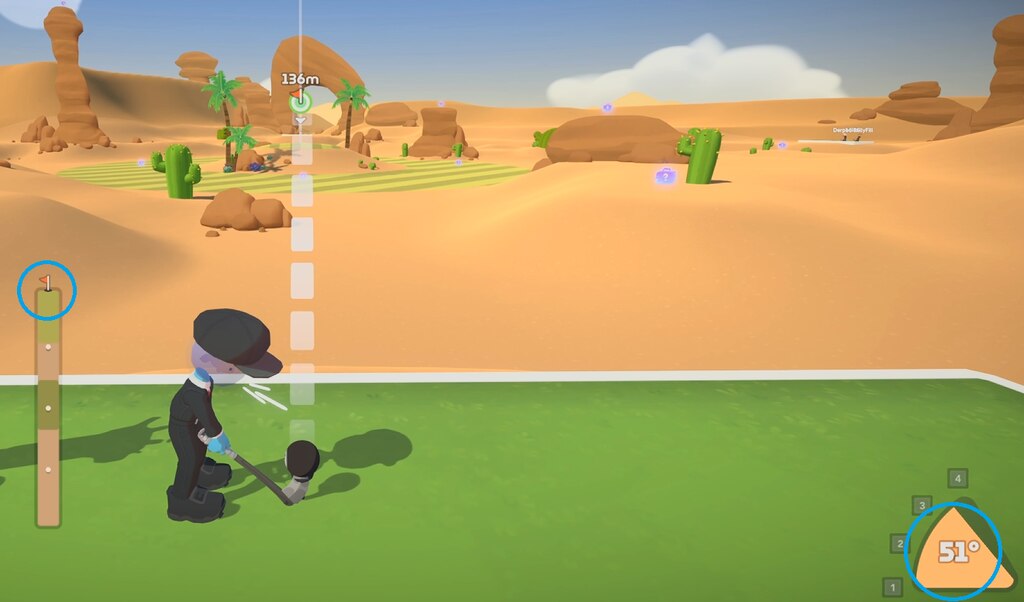
Start at 51°. Line up the flag so it sits in the middle of your power bar.
Step 2 — Final adjustment
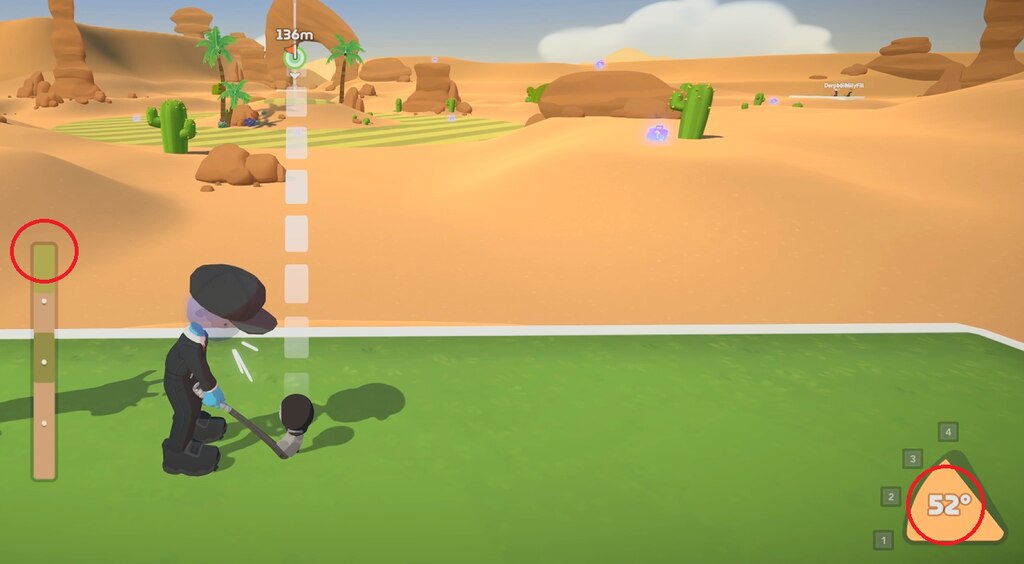
Once centered, nudge to 52°.
Step 3 — Power
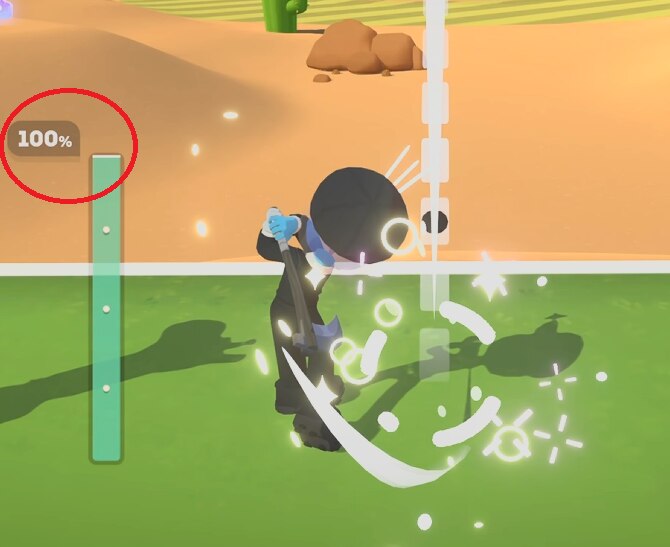
Hit at 100% power.
Important notes (Showdown)
- Some tee boxes can feel slightly inconsistent; retrying the same method usually converges.
- Other combos that can ace: 49° + 93% power and 50° + 95–96% power — 100% power is often easiest to repeat.
- Retry tip: Hold R to retry before the timer starts if you miss — it may not count for the hole-in-one achievement, but you can still finish ahead of other players.
Coast 8: Gauntlet

Spawn requirement (Gauntlet)
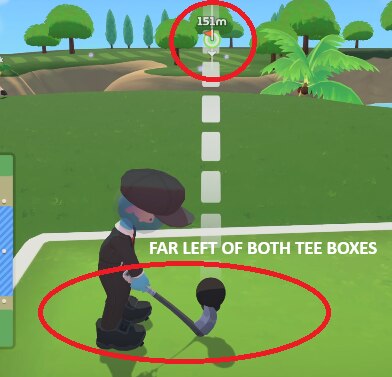
Less consistent than Showdown overall. This line is most reliable from the far left side of both tee boxes; with that spawn, aim carefully for a high success rate.
Shot setup (Gauntlet)
Step 1 — Aim alignment
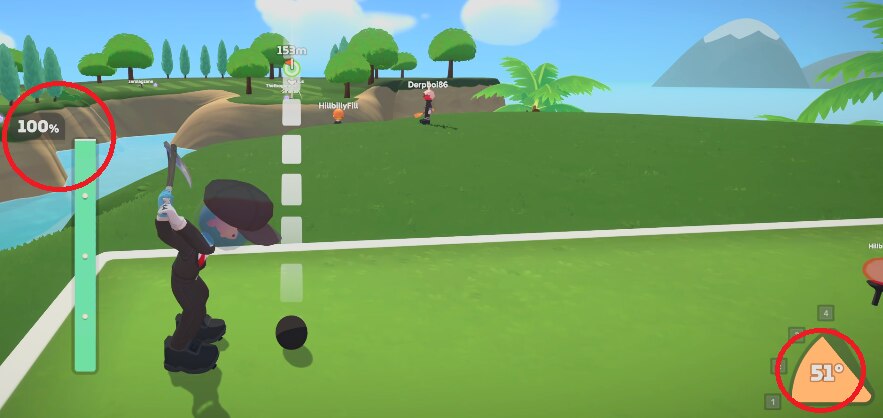
Use the transparent white aim bar: place the flag icon arrow in the center of that bar.
Step 2 — Angle
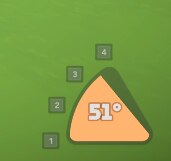
Set 51°.
Step 3 — Power
Fire at 100% power for repeatable shots.
Notes (Gauntlet)
- 100% power + 51° and/or 52° are called out as reliable when you can commit to full bar.
- Variants that also work for some players: 52° from certain tee positions, or 51° with 93–100% power from the left start — try what fits your spawn.